'Not Xyron But it Should Be' Inspiration projects
It was fun this week actually doing something with Pinterest other than just drooling over all the gorgeous projects that have been pinned. Our task was to pick pins from the 'Not Xyron But it Should Be' Xyron Pinterest Board and yep you guessed it, use them as inspiration to make new projects that use Xyron.


I chose two projects, here is the first Pin, Framed Hearts pinned from Cozy.Cottage.Cute.com

The second was this gorgeous paper piecing canvas pinned from tatertotsandjello.com

and here is what they inspired me to create !!!
LET YOUR LIGHT SHINE

The stand out heart inspired me to make a project that encourages you to stand out in the crowd and be YOU!!!.
Supplies
Maya Road Eureka Light Bulb Moment Wood Pieces
Bazzill Basics 'Timeless' paper collection
Tim Holtz Frayed Burlap Distress Ink
Ikea Frame
Strips of Foam
For Xyron in the UK visit Crafter's Companion
How it's Made
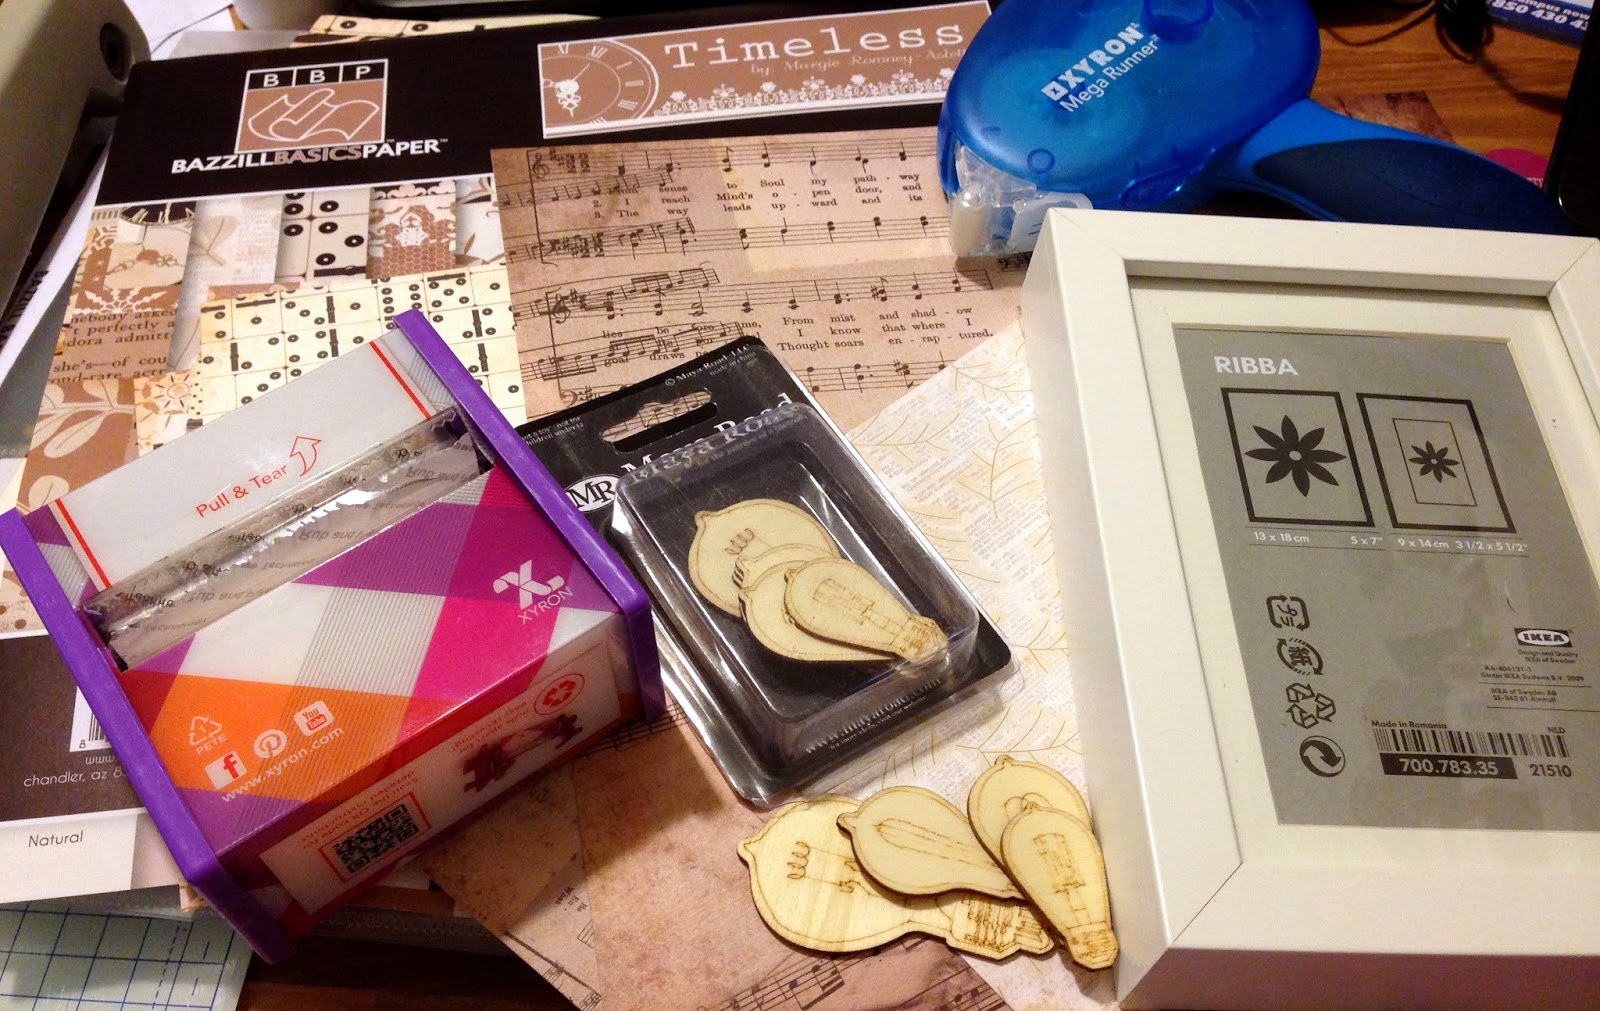
Supplies ready to go!

Cut the base paper to size and run through the Xyron 5" Creative Station

Use the Tim Holtz pad to ink the paper edges

Repeat for the next layer and distress the edges with a blade or scissors and run through the Xyron 5" Creative Station

Use the ink pad to stain the edges and base of the wooden embellishments, rub one with some gold gilding wax and run them all through wither the Xyron 1.5" Create a Sticker or the 3" Sticker Maker

I used individual letter stamps to add the sentiment and raised the gold wooden embellishment by adding foam pads behind it.

To keep a gap between the base and the glass I used a strip of foam around the inside edge of the frame. This also helps to keep the glass in place.

I Used the Xyron Mega Runner to stick the project to the base board and inserted it into the frame.
-0-
Project number two !!!!
BE FREE

The paper pieced bird on the canvas inspired me to think about taking flight and being free to make your own choices in life, and I love butterflies !!!
Supplies
To purchase Xyron in the UK go to Crafter's Companion
How it's made

Supplies at the ready

Cut the base layer of Core'dinations to size and using the Xyron High Tack tape place strips on the back.

Once in place distress the edges with a fine sander

Measure and cut the top layer and ink the edges

Distress the paper edges before using more of the Xyron High Tack Tape to put the layer in place

using the Smooch Spritz and the Spray and Sparkle give a light coating to the bottom right corner and middle.

Cut out some various sized butterflies from the patterned paper.

Use the Xyron Mega Runner to apply adhesive to the back along the Butterfly body

Start to curl the wings of each Butterfly

Place them on the project in a staggered formation

Finish with the BoBunny letters
-0-
Follow Xyron on the Web, Facebook, Pinterest and Blog for more inspirations and the chance to win some amazing Xyron products.
To purchase Xyron in the UK go to Crafter's Companion


Stunning creations Sharon, I love them.
ReplyDeleteHugs Julie xxx