Xyron 30 Days of Holidays!
.jpg)
Happy Holidays !!!!, I'm sharing with you an altered box that can be used for treats, keepsakes or gift giving. Follow Xyron on Facebook everyday until December 16th for amazing Christmas inspirations from the Design Team as part of our 30 Days of Holidays

Supplies
Teresa Collins Xyron Adhesive Kit Foam Pads
Coredinations Cardstock
Crafter's Companion Pearl Diamond Spray and Sparkle
Pebeo Gold Gilding Waz
Prima White Chalk Edger
Red Mini Gems
The Twinery Twine
8.5" x 8.5" x 4" Box
How it's Done

This box has a deep recess and a 4 x 4 canvas that fits inside, I will use this for a separate project and take advantage of the recess to do some decoupage on the lid.

To prepare the box for covering, ink the edges with the white Prima chalk pad, (I inked the corners as I was going to do panels but changed my mind and decided to do a wrap around instead).

Next rub a little of the gold gilding wax over the top edges.

Inside the box lid I decorated with a panel made using core'dinations, gilding wax and the 'O Christmas Tree' Die

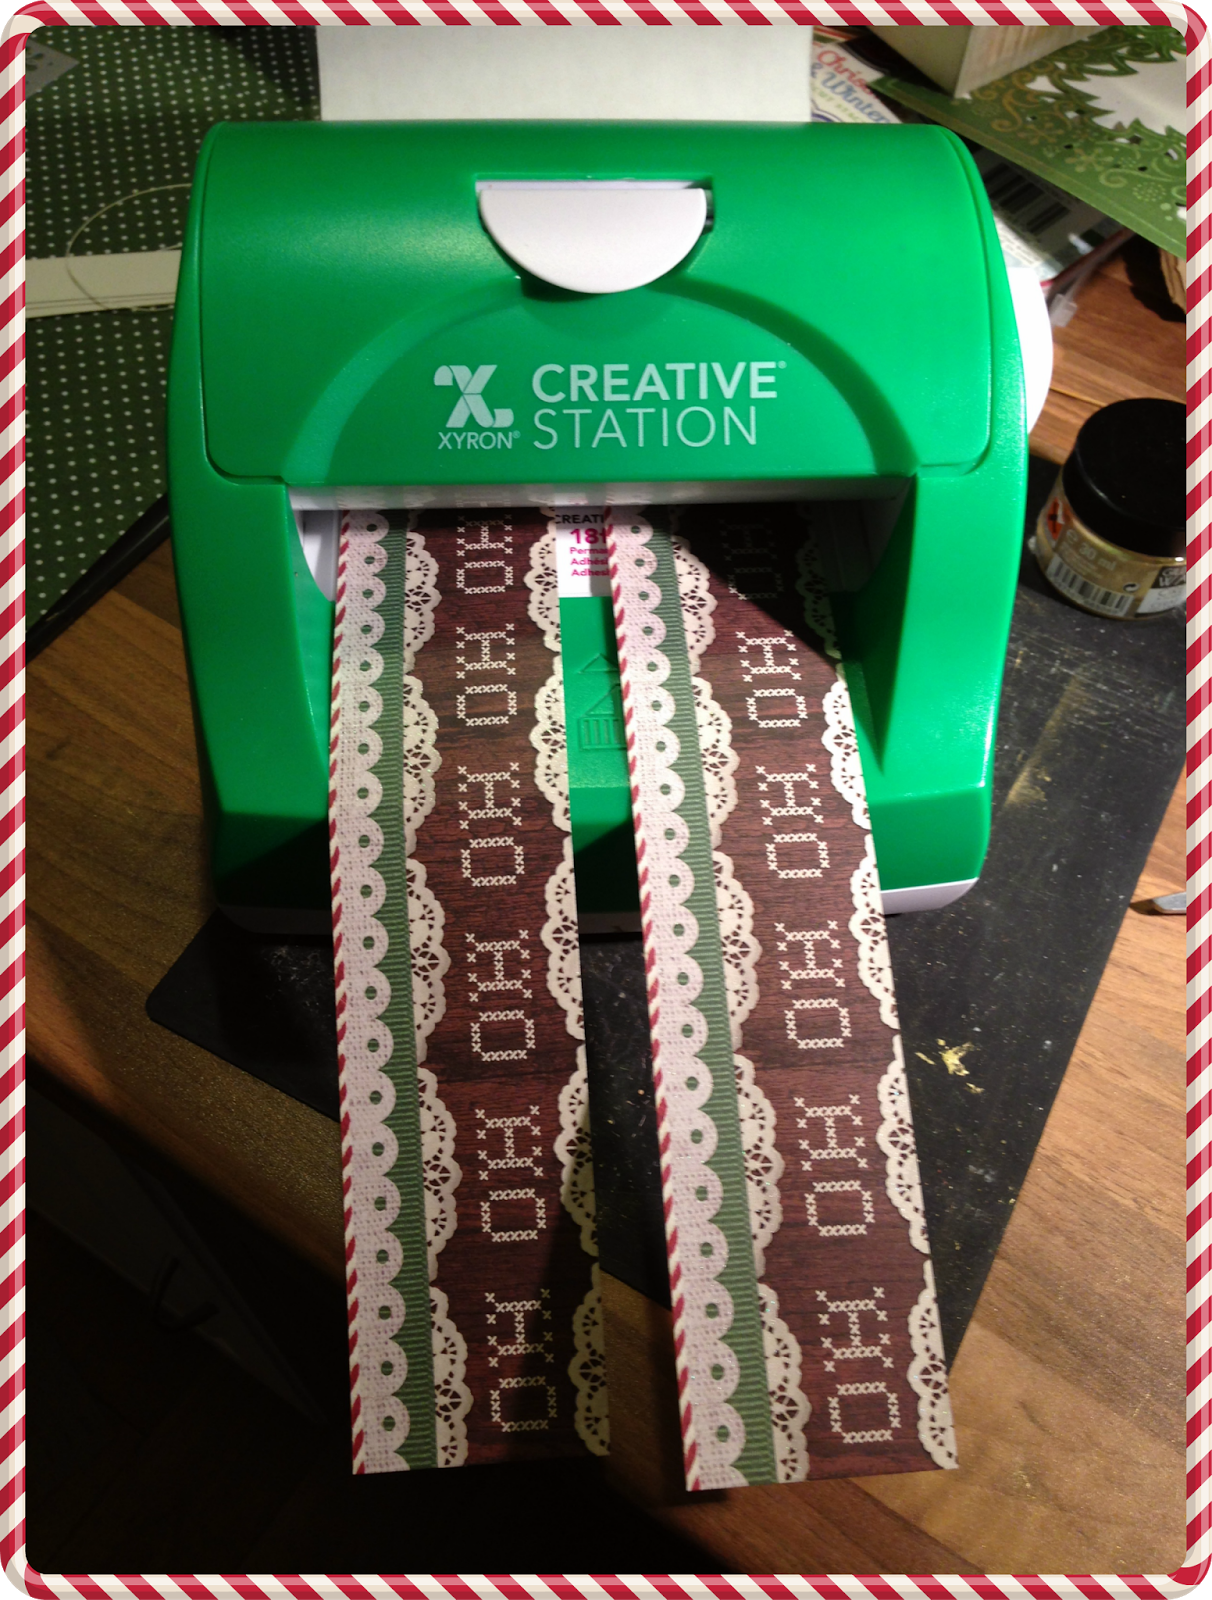
To cover the outer edges of the box base I cut the 'Ho Ho Ho' panels from sheets of 12 x 12 and ran them through the Xyron 5" Creative Station. Wrap the strips around the outside edge of the box base.
Repeat for the outside edges of the lid.

To cover the lid and create the decoupage I cut out the image from a 12 x 12 sheet, ran it through the Xyron 9" Creative Station.

panel in place on the lid

Cut out the elements from the stack

Using the foam pads from the Teresa Collins Adhesive Kit prepare the cut out elements ready to decoupage.

Layer onto the base and tah dah! , the lid now had dimension

Cover the interior with more paper from the stack and add the die'cut panel to the inside of the lid and a topper from the pad.


Add the gems to the die cut holes

Spray the Spray and Sparkle over the decoupage and add a bow made from the twine. I used a gingerbread man button to the bow.

To finish wrap some twine around the outside and tie in a bow.
-0-
Thanks so much for stopping by today, make sure to follow Xyron on Facebook for inspirations and giveaways.
I'm also on facebook if you want to stop by and say hi !
See you again soon.


What a beautiful box. It would suit a family gift or a significant other. Love it.
ReplyDeleteNicely done. Love how you reused the box and your tutorial. was excellent
ReplyDeleteLove your altered box. Looks to good to use except for a show piece. BL
ReplyDeleteWhat a gorgeous box!
ReplyDeleteStunning!! I have a couple boxes waiting to be dressed! I think I know what to do with them now! TFS!
ReplyDeleteGreat tutorial and I love the end result. Thank you. BL
ReplyDeleteThis is an amazing project! Thanks for the step by step. BL
ReplyDeleteFabulous project, love all of the elements! The papers and patterns are gorgeous! Have a Happy Thanksgiving! BL
ReplyDeleteWhat a cute box! Fill it with cookies and send it my way, please!
ReplyDeleteWow, how beautiful!
ReplyDeleteGreat job:)
Elaine (BL)
ExpressionsByElaine.blogspot.com
Awesome!!!!
ReplyDeleteMiranda :) BL
Love this!! You did a great job!!
ReplyDelete#bloggielove
I love how you did the stenciling!
ReplyDeleteGreat box! Love the stencilling work! And you used a Xyron! I have a Xyron, but I always forget to use it. You've got me thinking of how I can use it now. Thanks! #bloggielove
ReplyDelete